
Welcome back to The Worm Wagon! Today, we’re going over the process of setting up your very own worm bin. Whether you’re a seasoned gardener or a beginner, this step-by-step guide will help you create a thriving environment for your worms and get started on your vermicomposting journey.
Materials Needed
Before we get started, gather the following materials:
1. Container: A plastic or wooden bin with a lid. The bin should be opaque, as worms prefer darkness. A typical size is about 10-20 gallons, depending on your space and composting needs.
2. Bedding: Shredded newspaper, cardboard, coconut coir, or a combination. Make sure it’s non-glossy and free of inks or dyes.
3. Water: To moisten the bedding material.
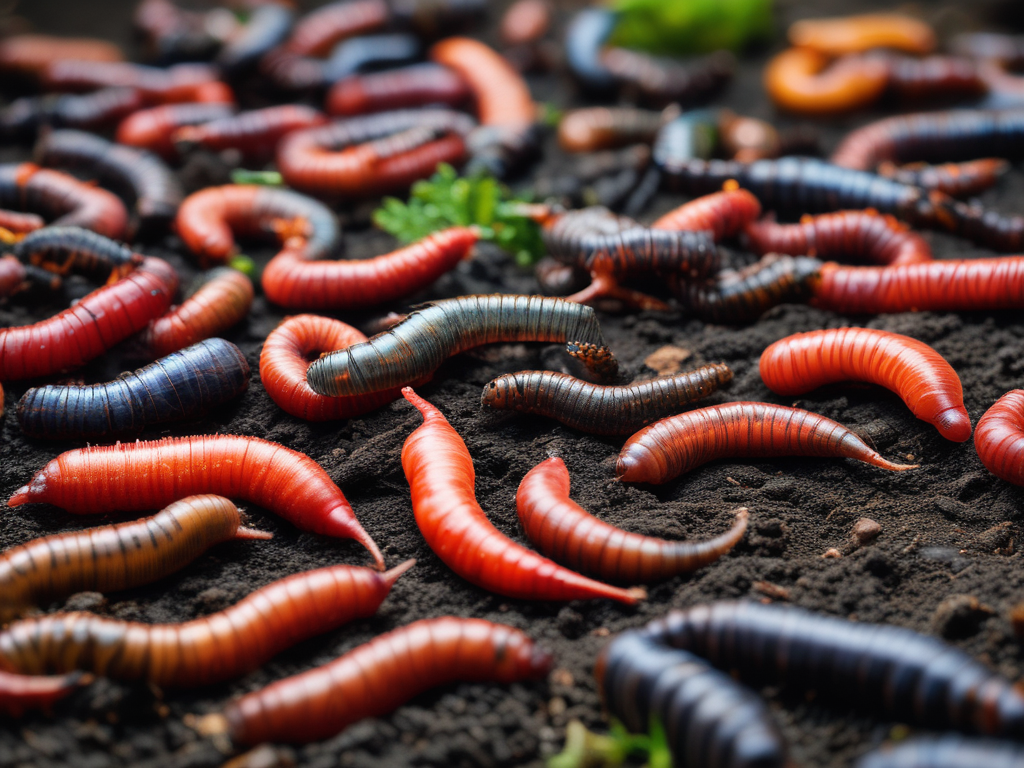
4. Worms: Red wigglers (Eisenia fetida) are the best choice for vermicomposting.
5. Food Scraps: Fruit and vegetable peels, coffee grounds, eggshells, and other kitchen scraps.
6. Drill: To create ventilation and drainage holes if using a plastic bin.
Step-by-Step Guide
1. Prepare the Container:
• If you’re using a plastic bin, drill small ventilation holes (1/8 inch) on the sides and lid to allow airflow.
• Drill a few drainage holes at the bottom to prevent water buildup.
2. Add the Bedding:
• Fill the bin about one-third full with your chosen bedding material.
• Moisten the bedding until it feels like a damp sponge—wet but not dripping.
3. Introduce the Worms:
• Place your red wigglers on top of the bedding. They will naturally burrow down into the bedding to avoid light.
• Let the worms settle in for a day or two before adding food scraps.
4. Add Food Scraps:
• Start with a small amount of kitchen scraps. Avoid adding meat, dairy, oily foods, and citrus, as these can harm the worms or cause odors.
• Bury the food scraps under the bedding to prevent fruit flies and odors.
5. Maintain the Bin:
• Keep the bin in a cool, shaded place, ideally between 55-77°F (13-25°C).
• Maintain the moisture level by checking the bedding regularly. Add water if it feels dry or more bedding if it’s too wet.
• Turn the bedding occasionally to aerate the bin and prevent clumping.
6. Monitor and Harvest:
• Monitor your worm bin weekly. If you notice any issues like bad smells or excessive moisture, adjust the bedding or food input accordingly.
• After a few months, your worms will produce rich, dark compost. To harvest, move the contents to one side of the bin and add fresh bedding and food to the other side. The worms will migrate, allowing you to collect the compost.
Final Tips
• Be Patient: It may take a few weeks for your worms to adjust and start processing food scraps efficiently.
• Feed in Moderation: Start with small amounts of food and gradually increase as your worm population grows.
• Observe and Learn: Pay attention to your worms and their environment. Healthy, happy worms are active and produce rich compost.
Setting up your worm bin is a straightforward process that yields incredible benefits for your garden and the environment. Stay tuned for more tips and tutorials as we continue to explore the wonderful world of worm farming.
Until next time, happy composting!
Lindsay


Leave a comment